Tesla Charging Cable Not Fully Secured: Reasons and Solution
Have you plugged in your Tesla only to get the dreaded “Charging cable not fully secured” error message? This frustrating alert could prevent proper charging and leave you stranded.
In this comprehensive guide, we’ll cover everything you need to know about the “Tesla charging cable not fully secured” issue including:
Table of Contents
And much more…
By the end of this passionately researched post, you’ll know how to get your Tesla charging again and stop future cable connection problems in your tracks.
Let’s fully dissect this charging cable security issue once and for all!
What Triggers the “Charging Cable Not Fully Secured” Error?
The message “Charging cable not fully secured” indicates that your Tesla has detected that the charging connector is not properly inserted and locked into the charge port inlet.
As a safety feature, Tesla vehicles will promptly stop the flow of electricity when sensors report the charging cable is loose or not clicked completely into place.
This prevents arcing, sparks, and potential damage to the cable or vehicle’s sensitive charge port components.
So in plain terms, “Tesla charging cable not fully secured” means:
- The charging connector is not fully seated in the charge inlet
- A loose connection between the cable and the charge port
- Charging automatically halted for safety reasons
You may also notice a flashing red LED light near the charge port when this alert appears on the vehicle’s dash and mobile app.
It’s a Protective Mechanism, Not a Defect
While the “charging cable not fully secured” message may be frustrating, it’s truly an important feature that protects your expensive electric vehicle.
By immediately stopping electricity flow when a sub-optimal connection is detected, Tesla likely prevents countless issues from loose cables arcing, overheating, or even melting.
Now let’s examine the various reasons why you might get this safety notification in the first place…
8 Reasons Your Tesla Cable Won’t Connect
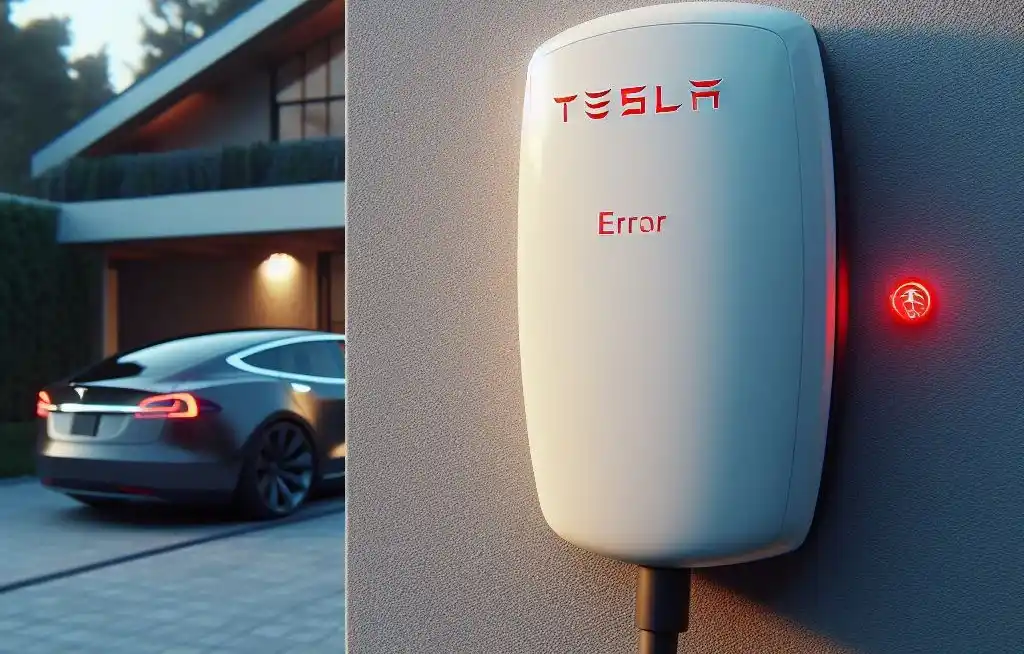
There are several common root causes for the “charging cable not fully secured” error popping up in your Tesla:
1. Loose Charging Connector
The most obvious culprit is that the charging connector is simply not fully pressed and latched into the charge inlet/port.
All Tesla vehicles have a spring-loaded locking mechanism that clicks and secures the charging handle into place. If the cable isn’t firmly shoved into the port deep enough, this latch and sensors won’t engage.
2. Debris Blocking a Secure Fit
Dirt, small pebbles, water, or other debris can easily lodge into the sensitive charge port opening. This prevents the charging connector from properly fitting into place for charging.
Carefully inspect your charge inlet for any stuck debris. Use a flashlight to illuminate the entire opening.
3. Issues With Third-Party Charging Stations
Problems with certain public charging connectors may also trigger the vehicle to report “charging cable not fully secured”.
Some third-party EV charging plug designs don’t interface perfectly with Tesla charge ports, causing a loose fit. Try charging with Tesla’s Supercharger or home charging equipment instead.
4. Mechanical Wear and Damage
The spring-loaded charge port door and locking mechanism can degrade over time with sustained use.
Port components like retainers, sensors, and door hinges can suffer mechanical wear or even break with repeated plugging/unplugging. This may prevent solid cable connections.
5. Vehicle Software Bugs & Connection Issues
Since EVs rely heavily on complex software and electronics for charging management, glitches can cause false alarms of a loose cable.
Resetting your Tesla’s charging system essentially reboots the connection between components. Clearing any faulty signals related to cable security.
6. Extreme Hot or Cold Temperature Operation
In very cold winter or hot summer weather, the plastic and metal components involved in charging can contract or expand.
This may temporarily lead to slightly loose charging cable fits, triggering the safety alert.
7. Charging Equipment Defects
Faulty home or public charging stations can cause connection issues too.
Wall connectors, Mobile connectors, or Superchargers that are mechanically defective or have bad communication software/sensors themselves may wrongly tell your Tesla that the cable isn’t secure. Try different equipment.
8. User Error Plugging/Unplugging
It’s well documented that repeatedly yanking charging cables out in a rushed or rough manner can damage those delicate charging parts over time.
Be gentle and gradual when disconnecting charging handles, allowing all locking mechanisms to fully release before removing.
Now let’s focus on actionable solutions to get you charging when this alert disables your charging…
Tesla Charging Cable Not Fully Secured: The Solution
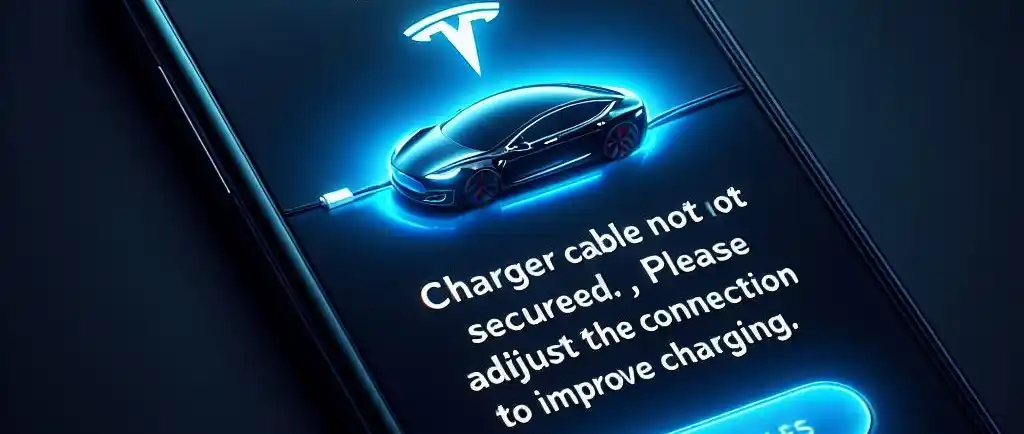
Here are effective troubleshooting steps to get your Tesla charging again after the “charging cable not fully secured” error grinds things to a halt:
1. Carefully Re-Insert the Charging Connector
Start by removing the cable fully from the inlet and gently inspecting both ends for any debris or damage.
Next, carefully re-insert the cable’s connector directly into the charge port opening. Shove the handle firmly in as far back as it will go until you feel/hear the distinct locking “click.”
Ensure the cable is pulled back out with some resistance and verify the charge port door has closed properly over the opening. Then retry charging.
2. Reset the Charging System
If reinserting the cable didn’t work, try resetting your vehicle’s entire charging system to clear any faulty connection or software communication issues.
Here are simple steps for safely resetting a Tesla’s charging system:
- Make sure your vehicle is fully powered off. Both screens go black
- Firmly press and hold both steering wheel scroll buttons for 15+ seconds
- Wait at least 3 full minutes before turning the vehicle back on
- Carefully retry inserting the charging cable once powered back up
This reset sequence essentially reboots the connection between components, often resolving miscommunication and glitches.
3. Try Different Charging Equipment
To confirm whether the issue lies with your charging equipment or vehicle, connect to different certified Tesla chargers.
Attempt using other outlets like:
- Public Supercharger Stations
- Tesla Wall Connector at Home/Work
- Tesla Mobile Charger Model
If the cable connection issue persists on all equipment, then the underlying problem likely resides somewhere within your vehicle itself.
If charging works fine from some equipment but not others, your faulty gear is the prime suspect.
4. Initiate Tesla Service Request
For regular or ongoing “Tesla charging cable not fully secured” alerts, contacting Tesla Service is your best course of action for permanent troubleshooting.
Explain the charging problems you’re experiencing and schedule a mobile service visit or manual check-in at their repair facility.
Tesla technicians can then perform a comprehensive 80-point inspection of your entire charging system. Thoroughly examine cable handles, charge inlet components, and related electronics for correct fit, excessive wear/damage, or glitches.
They’ll also update your vehicle’s software, re-calibrate sensors, and replace any worn parts needed to get systems functioning safely again.
Let’s also discuss preventative measures to help avoid these faulty cable connections down the road…
Long-Term Solutions to Avoid Future Faults
Beyond quick fixes when your Tesla cable won’t latch, implementing the following long-term solutions can help prevent future loose charging connections:
1. Properly Align the Charge Cable Before Inserting
Take a few extra seconds to perfectly pre-align the charger handle with your vehicle’s charge inlet before shoving it in.
Rushing to plug in at odd angles risks the cable missing optimal insertion depth for a tight, locked fit.
2. Regularly Clean Connectors and Inlets
Use compressed air to routinely blow out any dirt or debris caught in both your Tesla’s charge inlet or a charging cable handle you use frequently.
Small pebbles or moisture easily wedge into the sensitive openings. So keeping their contacts clean is key.
3. Handle Cables With Care When Unplugging
As mentioned earlier, yanking out charging cables forcefully over time degrades the delicate mechanical locking mechanisms.
Gently wiggle plugs back and forth while pulling out to allow fittings to gradually unlock before fully removing. Specifically:
- Wiggle the cable left and right to allow the internal latching mechanisms to disengage
- Pull back slowly on the cable, giving the latches time to fully open
- Once you feel the cable connector loosen, gently angle it out without bending any pins
- Visually inspect that all locking pins have retracted cleanly without damage
- Slide the cable straight out smoothly along the same axis it was inserted
4. Consider Adding Protective Accessories
Investing in protective charge port inserts that close off unused vehicle charge inlets when not actively charging can be wise.
They block exterior debris and moisture from passively entering the openings between charges. Helping keep contacts clean.
Also, apply charging cable organizers to neatly store your Tesla-specific Mobile Connectors to minimize cable damage when not in use.
5. Inspect the Charge Inlet Frequently
Occasionally activate your vehicle’s charge port manually via the app to inspect the inlet while not charging.
Peer inside with a flashlight looking for any debris, moisture, or component damage missed during normal operation.
address issues before they escalate.
6. Install Charging Stations Properly
Consider having new Wall Connectors or third-party charging stations professionally installed and maintained for ideal operation.
Improper electrician work leads to potential safety issues or faults down the road.
Owner Experiences and Technician Wisdom
Now let’s review first-hand Tesla owner accounts struggling with “charging cable not fully secured” errors to extract their most effective advice, learning lessons, and reassurance.
We’ll also highlight revelations from Tesla-certified technicians for their unique technical perspective on conveniently resolving these loose cable connection issues.
Owner Insight Dealing With Loose Charge Cable Issues
Reviewing various Tesla online forums and communities reveals the common steps real-world owners take when battling frustrating “charging cable not fully secured” alerts:
- Owners first emphasize remaining calm since this alert is usually temporary and easily reversible. Just slowly walk through methodical troubleshooting.
- Many owners mention needing to become more deliberate when inserting charge cables – ensuring proper alignment while pushing the handle gently but firmly as far back into the inlet opening as possible. You need to feel the solid clicks from both the top and bottom latches engaging to enable charging.
- If debris, moisture, or ice is present – thoroughly dry out and clean both sides of connections before reattempting insertion for solid contact. Be patient for winter weather warm-up.
- Trying different charging equipment and available power outlets is smart to determine if faulty gear lies at the root of problems. Don’t assume your vehicle or its gear needs replacement without experimentation.
- While frustrating, regularly receiving “charging cable not fully secured” alerts usually indicates worn charge inlet components in the owner’s vehicle needing replacement from repetitive use over the years. So view it as a protective notice rather than a nuisance.
And Tesla-certified technicians have disclosed even more detailed best practices:
Technician Guidance On Quick Cable Fixes
Digging into specialized EV technician forums provides unique professional perspectives addressing Tesla’s “Charging cable not fully secured” faults:
- They note the vehicle’s charge inlet, sensors, and locking mechanism are engineered as wear components that will gradually degrade over time – especially with excessive charging/unplugging cycles more than recommended guidelines. There is no preventing eventual maintenance without reduced usage.
- Technicians advise against spraying harsh cleaning chemicals or digging at stuck debris in charge inlet openings, as this usually damages essential plating or alignments only repairable via full charge port replacement. Instead, use compressed air or soft toothbrushes with distilled water only.
- For quick home troubleshooting before a Tesla mobile service visit or shop repair appointment, technicians emphasize properly resetting the charging system first to recalibrate connections before assuming hardware failure. Components restarting essentially re-syncs all related sensors and detection capabilities.
- If the issue persists after resets, technicians then swap charging cables and available outlets to pinpoint if the vehicle or supply side is the culprit. This guides proper warranty parts replacements.
- Addressing alerts promptly prevents cumulative issues cascading across interdependent systems from inadequately secured cables arcing excessively. So schedule annual maintenance charging inspections.
Hopefully, these combined owner experiences and repair expert recommendations equip you to address Tesla charging cable not fully secured’ faults for reliable charging confidence across equipment.
Now let’s cover a final key question on protecting your electric vehicle investment…
FAQs
Why does my Tesla charging cable keep falling out?
If your Tesla charging cable repeatedly falls out of the charge port or feels loose, it likely indicates:
- Debris or damage preventing the cable from properly latching
- A worn or broken latching mechanism and pins
- Over time, charge port components can degrade from repeated use
Try cleaning the charge port and cable ends. But repeatedly loose cables usually require Tesla service to replace worn charge port parts.
Why won’t my new Tesla accept the charging cable?
For a brand new Tesla that won’t accept or properly latch charging cables, the issue may be:
- Charge port inlet components covered in protective film or residue
- Misalignment of guiding cables to insert straight
- Sensors need calibration to determine full latch engagement
Examine your charge inlet closely, clean any debris, and realign your cable carefully before reinserting it firmly. New vehicles also require sensor recalibration from use over the first few weeks.
Can I override the “charging cable not fully secured” alert?
While not recommended, you can temporarily override this alert by pressing and holding the charging handle’s button while inserting it forcefully to resume charging – despite an incomplete latch engagement.
However, we strongly advise against overriding this protective mechanism regularly. Charging with even slightly loose connections risks long-term equipment issues or fires. Properly address faulty latching immediately.
Why does this alert happen more in cold weather?
In freezing temperatures, charge port mechanics and cable plastics can contract slightly allowing vibrations to loosen connections triggered during battery conditioning. But alerts should clear upon warmup.
Fully heat soak vehicles and cables indoors, and clean any ice before gentle insertion. If cold weather issues persist, inspect charge ports for any cracking from extreme winters. Schedule Tesla maintenance is concerned.
Conclusion – Key Lessons Learned
Having comprehensively explored all facets around often perplexing “Tesla Charging Cable Not Fully Secured’ alerts – we can now confidently summarize the top lessons:
- The notice is not a defect, but a protective mechanism – halting electricity to avoid damage when sensors detect sub-optimal cable connections.
- Most charging faults arise from loose connectors, debris, or mechanical wear issues – easily addressed by resets, cleaning, and scheduled maintenance.
- While frustrating, view persistent alerts as helpful feedback to positively adjust charging practices – not unnecessary warnings.
- Respond promptly to connection issues, and secure repairs before cascading electrical faults spread across interdependent systems if left unchecked.
- No serious damage results from temporarily loose charge cables since power ceases at the first signs of sub-optimal contact.
You now have the complete knowledge arsenal to keep your Tesla charged anywhere securely. We covered quick fixes, long-term prevention, owner wisdom, repair tips, and electrical safety reassurances.
Never let a pesky “Charging Cable Not Fully Secured” alert strand your vehicle or ruin a road trip again!
Have any other lessons learned or tips for addressing loose Tesla charging cable issues? Share your experiences below to collectively elevate our EV expertise!

