Tesla Model 3 Charge Port Latch Not Engaged – Causes and Solutions
Have you ever tried charging your Tesla Model 3 only to get the frustrating “Charge Port Latch Not Engaged” error message? This issue prevents the charge port from opening and the vehicle from charging.
Not being able to charge your electric vehicle can be extremely inconvenient and disrupt your daily driving. Fortunately, in most cases, this error can be easily resolved with some basic troubleshooting at your home.
In this comprehensive guide, we’ll cover Tesla Model 3 Charge Port Latch Not Engaged, including:
Table of Contents
So if your Tesla charge port won’t open or you can’t start charging, this guide will help you get back on the road.
What Causes the Tesla Charge Port Latch Not Engaged Error?
There are a few potential causes for the “charge port latch not engaged” message:
- Cold weather – In cold conditions, ice can build up and prevent the charge port from properly engaging. Temperatures below -22°F (-30°C) can cause issues.
- Software glitches – Software bugs may intermittently cause problems with charging and the latch.
- Faulty latch – Over time, wear and tear can prevent the charge port latch from fully engaging.
- Obstructions – Debris, ice, snow, or damage can physically block the latch.
- Electrical issues – Problems with the vehicle’s electrical system can prevent charging.
Understanding why this error occurs is key to resolving the problem…
Step-by-Step Solutions to Fix Tesla Model 3 Charge Port Latch Not Engaged
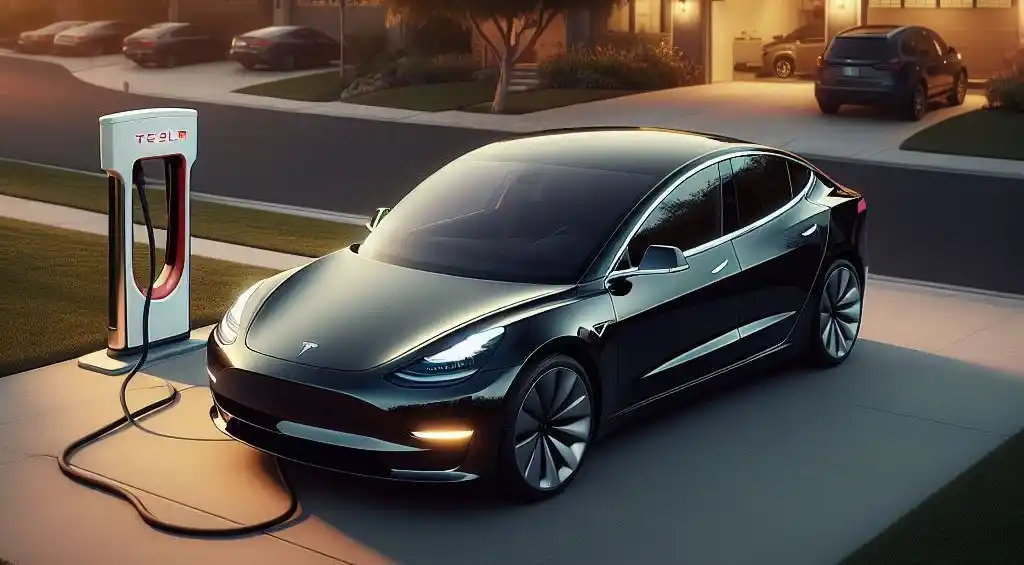
If your Tesla won’t charge and displays the “charge port latch not engaged” error, don’t panic. Here are step-by-step troubleshooting tips to get your charge port working again:
1. Check Latch for Obstructions
The first step is to check if anything is obstructing the charge port latch mechanism:
- Make sure no debris, snow, or ice is blocking the charge port. Use a light to inspect.
- Check that the charging cable is fully inserted into the charge inlet.
- Verify the charge port door fully closes and latches properly.
2. Pre-Condition Vehicle Battery
If ambient temperatures are extremely cold (below -4°F/-20°C), the vehicle may need preconditioning to warm the battery:
- Use the mobile app to turn on climate control for around 30 minutes before charging. This helps thaw the ice.
- Press the brake pedal to prompt the vehicle to precondition by warming the battery automatically.
3. Reset the Charge Port
Resetting can clear any software glitches causing charging issues:
- First, remove the charging cable completely from the vehicle inlet.
- From inside the vehicle, manually release the charge port door using the icon on the touchscreen.
- Leave the charge door open for around 30 seconds before re-inserting the charge cable.
4. Restart the Charging Process
Sometimes you may need to restart the charging process for the charge port latch to correctly engage:
- Unplug the charging connector and make sure the latch is completely disengaged. Leave it open for 30 seconds.
- Re-insert the charging connector fully until it clicks and the vehicle begins charging.
- Check the touchscreen or mobile app to confirm charging has started before leaving.
If you are still getting the charge port latch error, further troubleshooting is needed…
5. Force Cycle the Charge Port
Force cycling the charge port electrically triggers the latch to re-engage:
- Remove any charging adapter from the vehicle inlet.
- Cycle through every gear while pressing the brake, including Park, Reverse, Neutral, and Drive.
- During this process, you will hear clicking sounds as the charge port releases and engages.
Once complete, insert the charge adapter to check if charging works normally.
6. Schedule Tesla Service
For persistent cases of charge port failure or the “latch not engaged” error:
- Schedule an appointment through your Tesla mobile app.
- Tesla can then diagnose why the latch is not fully engaging during charging.
- A technician can determine if electrical issues, cold weather, or faulty latches are causing problems.
With professional diagnosis and repairs, charging issues can be permanently resolved.
Tips to Prevent Charge Port Latch Problems
Avoid frustrating charge port problems in the future by following these best practices:
✅ Regularly inspect the charge inlet and clean out any debris
✅ Ensure tire pressures are properly inflated to conserve energy
✅ Use Scheduled Charging to pre-heat battery in cold weather
✅ Update vehicle software to the latest version
✅ Gently insert the charging connector straight-on
✅ Periodically lubricate the charge port pin and latch
✅ Avoid using aftermarket adapters that can jam the mechanism
✅ Close the charge port completely when not charging
FAQs About Tesla Charge Port Latch
Here are answers to some frequently asked questions about the Tesla charge port latch and charging issues:
Why does my charge port say “Latch Not Engaged”?
This typically means the charging cable is not making a full connection. The latch cannot securely close and hold the connector in place for charging.
Why won’t my Tesla charge port open?
If the charge port won’t physically open, debris may be blocking it. In cold weather, ice can prevent the latch from disengaging. Use manual release handles inside the rear trunk instead.
How do I manually open a Tesla charge port?
Two manual release cables are located inside the rear trunk. Pull down both handles at the same time to manually disengage the charge port.
Why does my Tesla charge then stop charging?
If charging starts but then intermittently cuts in and out, moisture or debris on the charge port pins may be causing connectivity problems.
How do I reset my Tesla charge port?
Try removing all charging equipment and restarting: Open the charge door; shift into Park/Neutral/Drive gears while pressing the brake; re-insert the charging handle.
In summary, while “charge port latch not engaged” errors can temporarily disrupt charging your Tesla EV, following troubleshooting tips in this guide can quickly get your vehicle powered up.
Preventing debris buildup, updating software, inspecting the latch mechanism, and scheduling Tesla maintenance checks will keep those electrons flowing!

