Tesla Powerwall Installation Clearances – Tesla Powerwall Dimensions and Space Requirements Guide
Installing a Tesla Powerwall can help make your home more energy-efficient and environmentally friendly. However, before installation, it’s important to make sure you have adequate space and clearances for the unit. This article provides a comprehensive guide on tesla powerwall installation clearances Tesla Powerwall dimensions, space requirements, optimal location, and all the installation considerations you need to review.
Table of Contents
Introduction
Tesla Powerwall is a rechargeable home battery system that stores energy from solar or the grid to power your home during an outage. With capacity ranging from 13.5 kWh to 27 kWh, Powerwall acts as an emergency backup to provide power to your home essentials during a grid failure.
Before proceeding with Powerwall installation, you must ensure you have adequate free wall space meeting the minimum clearance requirements defined in the Powerwall installation manual by Tesla. We will provide all key details around optimal location, required space, recommended clearances and other considerations to help you prepare your home.
Tesla Powerwall Installation Clearances – All Steps
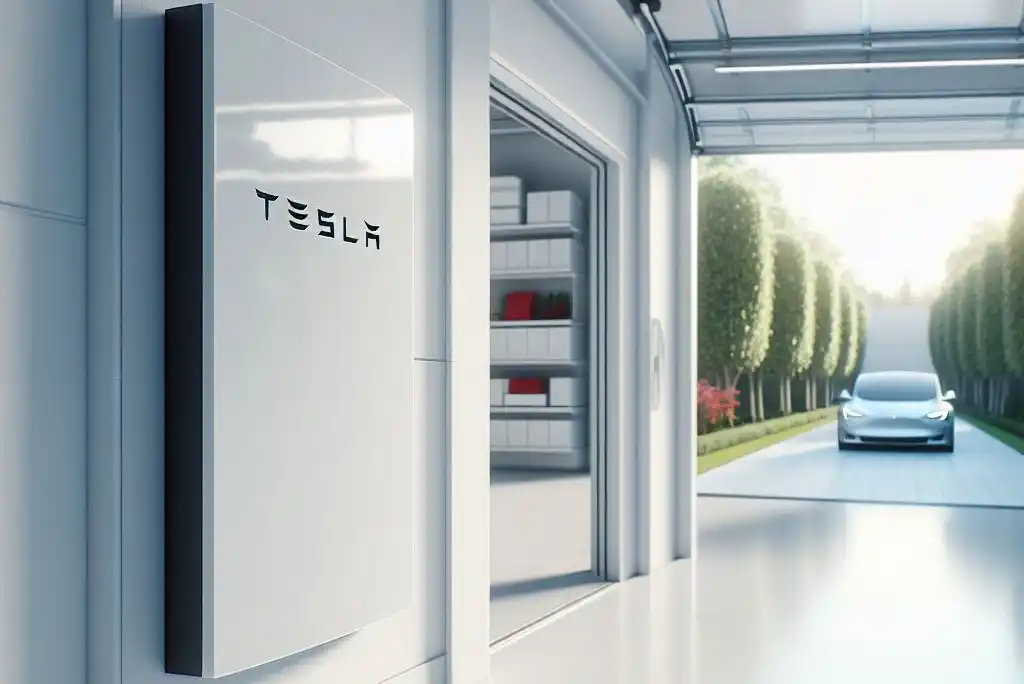
Preparing your home for a Tesla Powerwall is a breeze when you know the clearance requirements upfront. Here’s a guide to ensure a seamless installation process and optimal performance of your energy storage system.
Key Clearances for a Flawless Fit:
1. Wall Mounting:
- Side clearance: Leave at least 150 mm (6 inches) on both sides for proper ventilation and access.
- Top clearance: Ensure at least 150 mm (6 inches) of space above the Powerwall for airflow and maintenance.
- Bottom clearance: Maintain a minimum of 300 mm (12 inches) below the Powerwall for wiring and connections.
2. Floor Mounting:
- Surrounding space: Provide a minimum of 300 mm (12 inches) of clearance on all sides for airflow and access.
3. Backup Gateway:
- Positioning: Install the Backup Gateway indoors, typically near your electrical panel, with adequate ventilation.
- Clearance: Allow for 500 mm (20 inches) of clearance in front of the Backup Gateway for maintenance access.
Additional Considerations:
- Water sources: Safeguard your Powerwall by avoiding installation near sprinklers, downspouts, or faucets.
- Direct sunlight: While not prohibited, minimizing direct sunlight exposure can help maintain optimal performance.
- Vehicle clearance: If possible, install the Powerwall above vehicle bumper height to prevent accidental damage.
- Internet access: Powerwall requires an active internet connection (wired or wireless) for monitoring and operation.
Working with Professionals for a Perfect Installation:
- Site survey: Tesla or a certified installer will conduct a thorough site survey to assess your specific clearance needs and electrical system.
- Pre-installation preparation: Clear any obstacles and ensure easy access to the installation area for a smooth process.
- Post-installation guidance: Your installer will provide clear instructions on maintaining proper clearances and operating your Powerwall safely.
By adhering to these clearance guidelines, you’ll create the ideal environment for your Tesla Powerwall to deliver seamless energy storage and backup power for your home.
Powerwall Dimensions and Sizing
- The Tesla Powerwall is designed as a wall-mounted unit with the approximate external dimensions:
- Height – 48.3 inches (1,228 mm)
- Width – 29.3 inches (744 mm)
- Depth – 7.1 inches (180 mm)
- So you need a minimum wall space of about 30 x 50 inches available to install one Powerwall unit
- The unit weighs approximately 256 lbs (116 kg), so the mounting wall must have suitable strength
- You can install up to 10 Powerwall units connected in parallel to scale up energy storage
- For two Powerwalls, plan for a total minimum floor space of 30 inches (W) x 100 inches (H)
Where Should You Install Powerwall?
The most suitable Powerwall location depends on your home layout and key considerations like:
Indoors vs. Outdoors
- Tesla recommends installing Powerwall indoors as extreme cold or hot temperature outdoors can reduce battery performance
- But outdoor installation may work better if you don’t have spare interior wall space
- For outdoor mounting, ensure the unit has weather protection
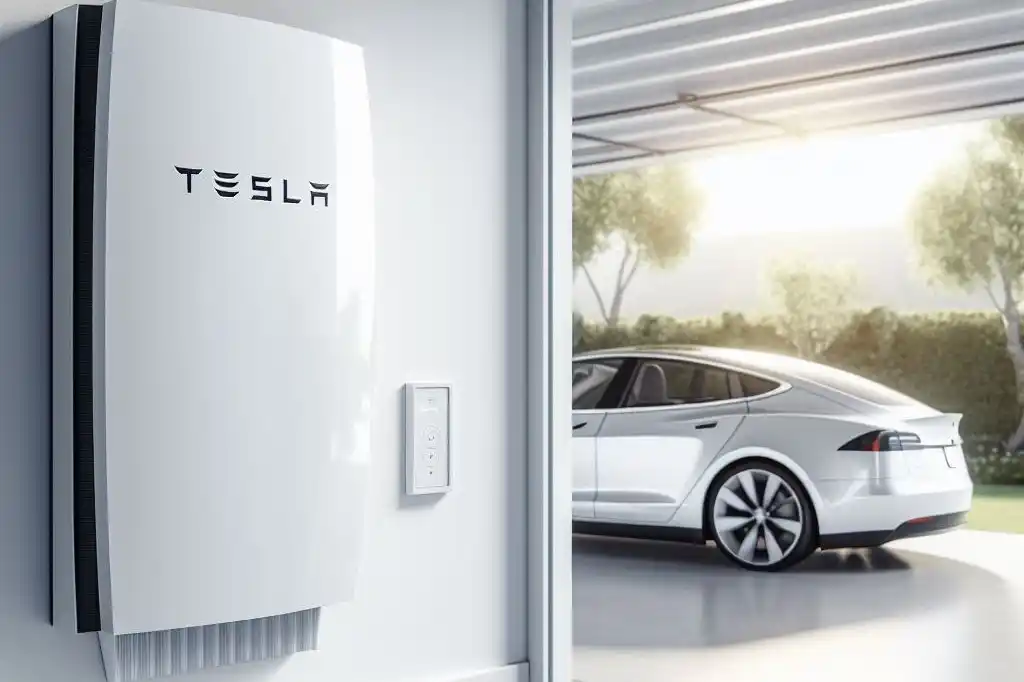
Garage Powerwall Installation
- Installing in garage allows convenient access for maintenance
- Ensure the garage has suitable temperature, weather protection and ventilation
- Keep 18 inches clearance from garage door path
Basement Powerwall Installation
- Basement is often unused space allowing flexible Powerwall placement
- Ensure dehumidification to prevent moisture buildup
- Avoid locations prone to flooding
Clearance from Other Objects
- Have at least 9 inches side clearance for ventilation around the Powerwall
- Allow 36 inches front clearance for access to operate the battery system
- Don’t install directly above electrical boxes or panels
- Keep 18 inches overhead clearance to allow lifting during maintenance
- Ensure the unit is securely fastened and meets local structural requirements
Optimal Mounting Conditions
Properly installing the Tesla Powerwall ensures efficient, long-lasting operation of the energy storage system. Here are key requirements for the mounting location:
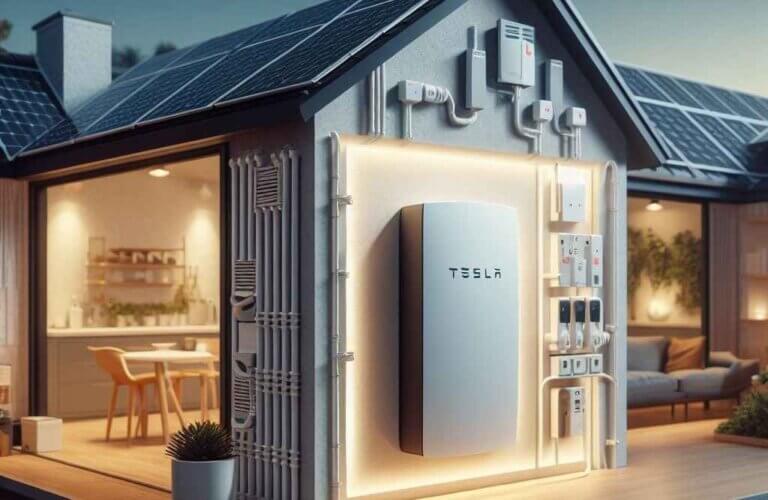
1. Near the Main Electric Panel
- Locate the Powerwall to minimize cable runs to the main breaker panel
- This reduces voltage drop allowing optimal performance
2. Stable Ambient Temperature
- Ensure space has stable cool temperature between 41°F and 95°F
- Avoid mounting next to heat/cold sources like HVAC vents or direct sunlight
3. Good Ventilation
- The Powerwall has an integrated pump and fan that produce a gentle hum during operation
- So the unit requires good airflow to prevent overheating
- The noise level depends on the ambient temperature and the power level
- But it is generally comparable to a typical refrigerator
4. Structurally Sound Mounting Surface
- Choose a structurally sound wall to safely hold the 256 lb unit
- Brick, concrete, or framed stud walls are generally suitable
- Ensure mounting fasteners used can support the load
5. Near Backup Load Center
- If using Powerwall backup gateway, install the Powerwall closer to essential backup loads
- This minimizes voltage drop allowing devices to operate efficiently
By considering these key factors, you can choose the optimal location in your home to install the Tesla Powerwall.
Powerwall Installation Clearance Requirements
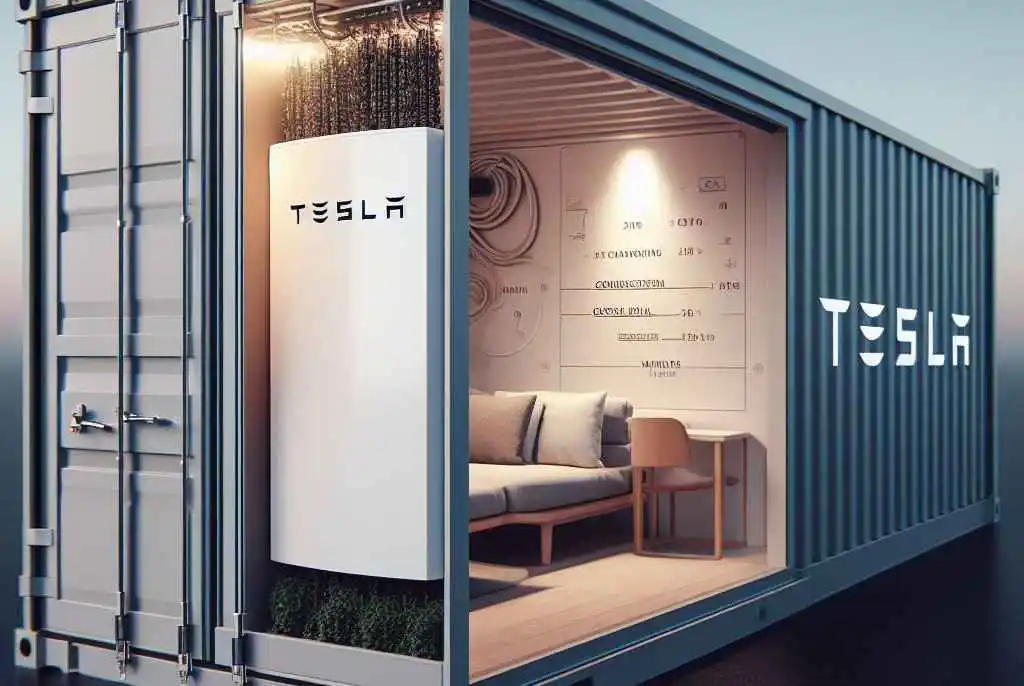
To safely access, operate and maintain the Tesla Powerwall system, the following key clearances must be provided during installation:
1. Front Clearance
- 36 inches minimum from obstructions on the front face
- Allows opening the front cover to access battery components
2. Side Clearances
- 9 inches minimum on both sides
- For ventilation and allowing side access
3. Overhead Clearance
- 18 inches minimum from ceiling or other obstructions
- To allow lifting unit during maintenance
- Allow more clearance if using lifting equipment like hoists
4. Below Unit
- 6 inches minimum ground clearance for outdoor installation
- Allows proper drainage to prevent water damage
- For indoor mounting, provide clearance for future maintenance
5. Behind Unit
- Provide sufficient clearance to route conduit behind the Powerwall to below floors or panels
- Alternatively, conduits can be routed above if space allows
6. To Nearby Objects
- 3 feet minimum clearance to flammable items like drapes or furniture
- As per National Electric Code requirements
- Allows emergency access if required
By ensuring these key Powerwall installation clearances, you facilitate safe, efficient and reliable system operation for decades.
Getting Your Home Ready for Installation
You can take the following key steps to prepare your home for a smooth Powerwall installation process:
1. Discuss the Plan with Tesla
- Contact Tesla to schedule a site survey and discuss installation plan
- An authorized installer will review your home to finalize mounting location and wiring plan
2. Clean Mounting Area
- Clear at least 5 x 3 ft space to mount the Powerwall
- Clean dirt, debris and dust to allow robust fastening
3. Turn Off Circuits
- Turn off nearby electrical circuits for safety during installation
- Clearly tag disconnected wires to simplify reconnection
4. Make Access Clear
- Move any furniture or items blocking the planned mounting area
- Prop open any doors on the installation path for easy entry of equipment
5. Have Tools/Hardware Ready
- Discuss with your Tesla Certified Installer to have anchoring hardware ready
- Provide convenient access to tools/ladders required for installation
Taking these steps allows rapid, error-free Powerwall installation so you can start benefiting from the home battery system sooner.
Powerwall App – Monitor System Remotely
Tesla provides a mobile app allowing you to monitor the Powerwall system remotely. Here is how you can setup to access the app anytime:
- Locate where your Wi-Fi router is installed and ensure it is working properly
- Get login credentials for the internet service if you don’t already have it
- Download the Tesla app on your phone or tablet
- Connect the Powerwall Gateway to your home internet during commissioning
- Login to the app using your Tesla account credentials
- You can then view the Powerwall status and stats remotely from your mobile device
This allows checking energy usage, changing modes, viewing outage alerts and more, from anywhere conveniently using the Tesla app.
Conclusion and Next Steps
Installing a Tesla Powerwall is a great way to make your home energy self-sufficient using stored solar or grid power. This guides covers key considerations around optimal location, space requirements, expected clearances and how to prepare your home for installation.
Here are some final recommendations as next steps:
- Discuss your needs with Tesla to get an exact recommendation based on home size and energy usage patterns
- Schedule a site survey from a professional certified installer
- Use our tips to identify the optimal Powerwall location with required clearance
- Take necessary preparation steps to allow a smooth, efficient installation
- Setup Powerwall mobile app to conveniently monitor system status
We hope this detailed guide gives you all key details to plan your Tesla Powerwall installation. Contact us with any additional questions!
Frequently Asked Questions
Q: What are the minimum space requirements for installing one Tesla Powerwall?
A: You need roughly 30 x 50 inches of clear wall space to install a single Powerwall unit. The maximum depth off the wall is 7 inches.
Q: Can the Tesla Powerwall be installed outdoors?
A: Yes, but Tesla recommends installing Powerwall indoors to prevent wide temperature swings that reduce battery performance. Outdoor mounting requires appropriate weather protection and drainage.
Q: How much clearance should I leave above and around the Powerwall?
A: Have at least 18 inches of overhead space, 36 inches of front clearance, and 9 inches of side clearance around the unit. This allows access for maintenance, ventilation, and emergency access if needed.
Q: What kind of wall is best to mount the 256-pound Powerwall?
A: Structurally sound brick, concrete, or properly framed 16-inch stud walls are suitable. Use mounting hardware meeting local building codes for this load.
Q: Where can I view details about my home’s Powerwall status?
A: Tesla provides a mobile app allowing you to conveniently monitor the Powerwall. Simply create your user account and connect the system’s gateway to Wi-Fi.

