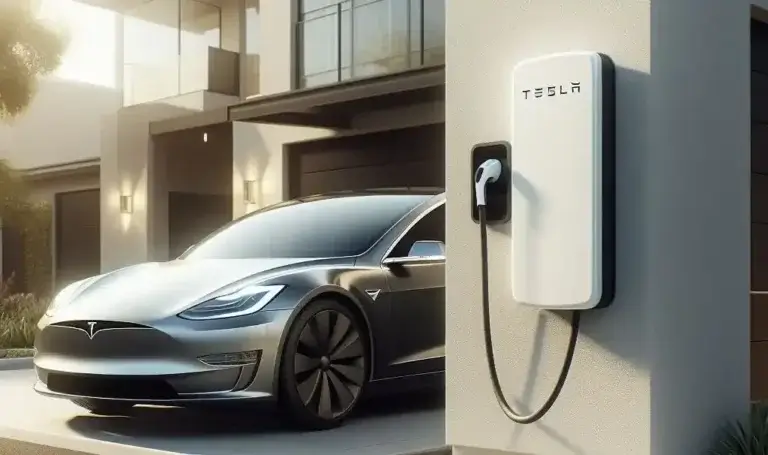
How Much to Install Tesla Charger in Garage
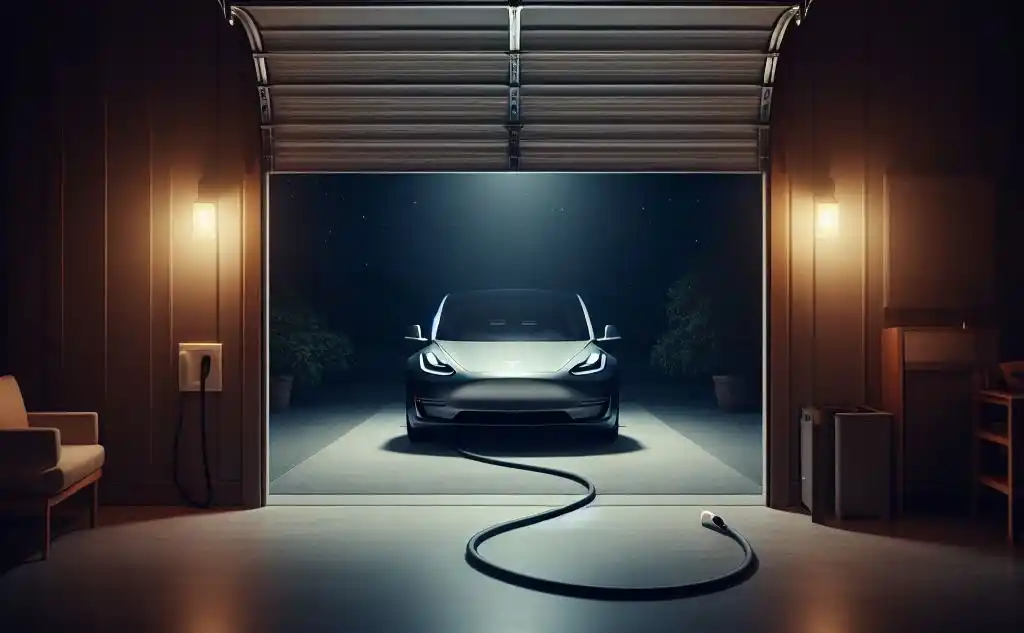
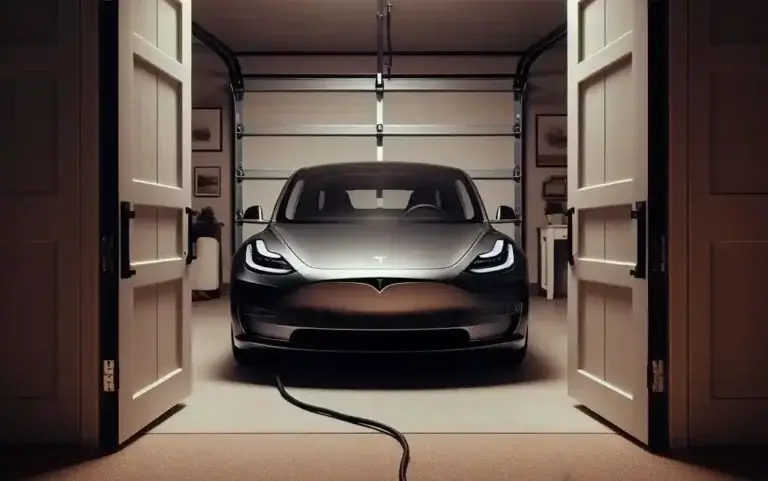
Installing a Tesla charger in your garage allows you to conveniently charge your electric vehicle at home. But how much does it cost? In this comprehensive guide, we’ll break down How Much to Install Tesla Charger in Garage and the costs, charging options, installation process, and tips to save money when installing a Tesla home charger.
Table of Contents
Introduction For EV charging Stations
Purchasing an electric vehicle like a Tesla is only the first step. To keep your EV powered up, you need access to regular charging. While public charging stations provide charging on the go, installing a home charger allows you to conveniently charge overnight right in your garage.
However, EV home charger installation involves both equipment purchases and professional labor. So how much should you budget for a Tesla garage charger setup? What factors affect the cost? And how can you save money on the project? Let’s find out!
Types of Tesla Home Chargers and Costs
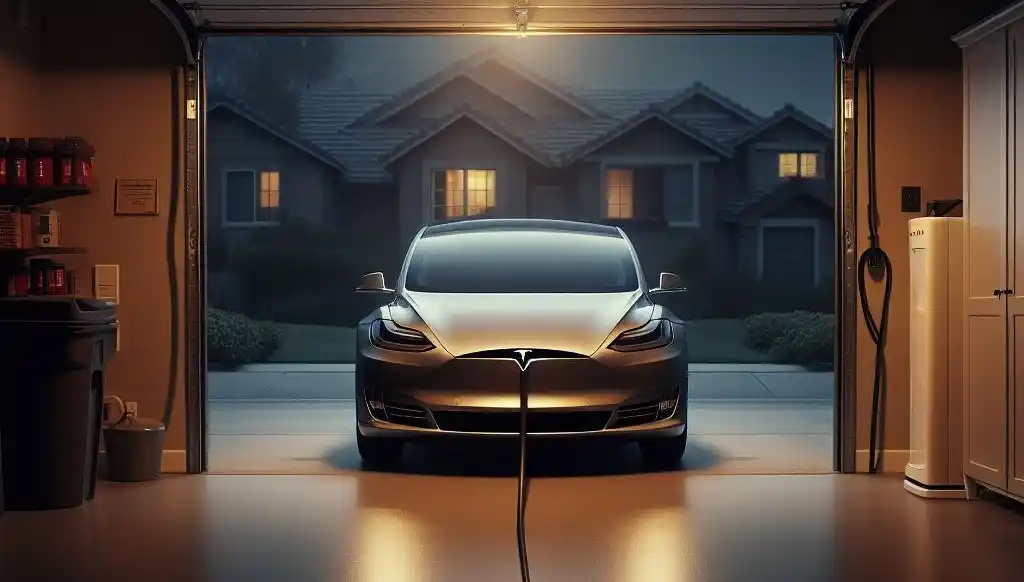
Tesla offers several home charging options at varying price points:
Tesla Mobile Connector
- Cost – Included with vehicle purchase
- Charging Speed – 2-3 miles of range per hour
- Requires – 240v outlet
The mobile connector provides slow, level 1 charging and is simply plugged into a regular wall outlet without any special installation. This makes it the cheapest option, but charging your Tesla will take a very long time.
Third-Party Level 1 Charger
- Hardware Cost – $500-$800
- Charging Speed – 2-5 miles of range per hour
- Requires – Dedicated 240v outlet
Level 1 chargers still provide slower overnight charging, but are more durable for long-term, everyday use. Installation is minimal if you already have a 240v outlet.
Tesla Wall Connector
- Hardware Cost – $500
- Charging Speed – 44 miles of range per hour
- Requires – 60 amp circuit breaker, NEMA 14-50 or 6-50 outlet.
The Wall Connector provides the fastest level 2 charging speed. But full installation with an electrician and a special 240v outlet is required, increasing costs.
Third-Party Level 2 Chargers
- Hardware Cost – $400-$1300
- Charging Speed – 25-50 miles of range per hour
- Requires – 40-60 amp circuit breaker, NEMA outlet
Third-party level 2 chargers offer faster charging for less cost compared to the Wall Connector. Electrician installation and a 240v outlet are required.
As you can see, hardware charger costs range from $0 for the mobile connector to $1300 for premium level 2 chargers. But specialized labor and electrical upgrades will add $500-$2000 or more to most installations.
Factors That Impact Installation Cost
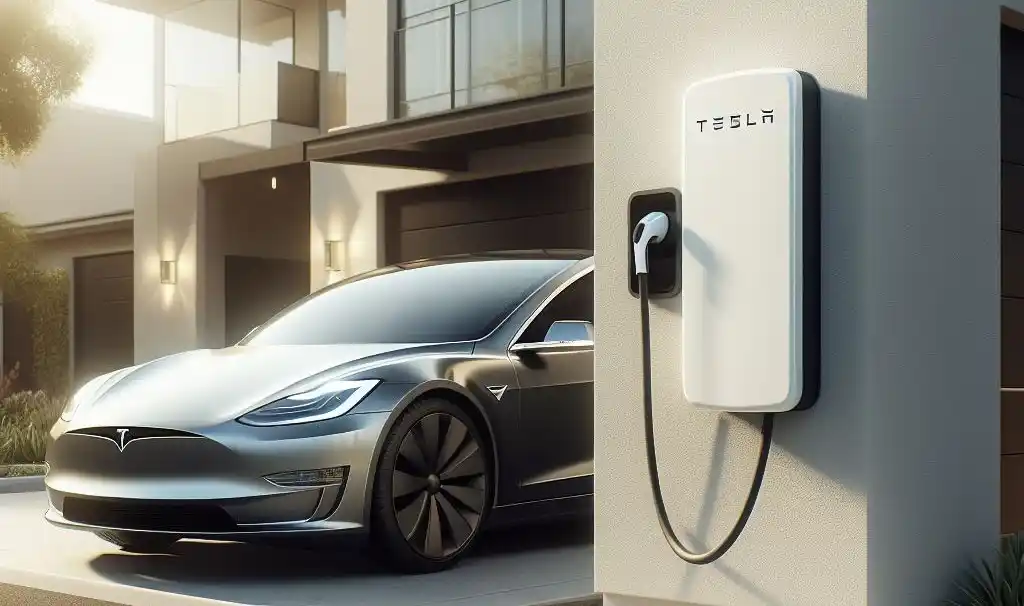
Many variables affect what you’ll pay for home charger installation:
Type of Charger
A basic plug-in mobile connector starts at $0. Meanwhile, hardwired level 2 chargers require heavy-duty electrical work, permits, materials, and labor.
Electrical Panel Amps and Location
If your panel doesn’t have enough spare capacity, upgrades like new wiring or a new panel could add thousands to costs. Distance from the panel also matters.
240V Outlet Requirements
Special outlets like NEMA 14-50 or 6-50 aren’t always available and may require new wiring. Outlet placement also affects labor time.
Labor Complexity
Difficult routing for wiring through walls, concrete drilling, or other complex electrical work can increase costs.
Electrician Rates
Big regional differences in electrician pricing per hour mean costs are higher in some areas. Shop around!
Permits
Some areas require EV charger permits, adding $100-$500 in fees, inspections, and paperwork to cover.
Considering these variables will help you accurately budget for a home Tesla charger setup. Quality equipment and professional installation are worth the investment for convenient, fast EV charging.
Step-by-Step Installation Process
Charger installation involves assessing electrical capacity, obtaining materials and equipment, proper permitting and inspections, wiring and outlet placement, configuring charger settings, and activation. Here is the full home charger setup process:
- Determine the best charger type and location based on your budget, charging speed needs, and home electrical capacity.
- Hire a licensed electrician to assess electrical panel and circuit capacity. Upgrades may be recommended.
- Purchase necessary outlets like NEMA 14-50, conduit, wiring, circuit breakers, and your choice of charger unit.
- Apply for permits and schedule inspections with your local building department if required in your region.
- The electrician runs the wiring conduit from the panel to the outlet location and installs new outlets and breakers.
- The charger unit is mounted and connected to the new electrical system.
- Local inspections take place if needed, and then drywall repair and paint finish the visual installation.
- The charger equipment is configured including network or WiFi connectivity and charging settings.
- Plug in your Tesla and enjoy convenient home charging!
This entire end-to-end process usually takes 1-3 full days depending on complexity. While permitting, inspections, and some electrical finishing work extend the timeline slightly for most electricians, the physical charger installation labor is often only 4-8 hours in total.
Cost Saving Tips
Follow these tips to keep your Tesla home charger installation costs down:
- Consider starting with the mobile connector to save money initially. Upgrade later as needed.
- Shop around with 3-5 electricians to compare bids and pricing.
- Get quotes for both basic and premium chargers to weigh costs.
- Confirm electricians are familiar with local permitting processes to avoid delays or extra steps.
- Ask about panel upgrades early since they significantly increase costs if required.
- For the fastest charging, place outlets as close to the electrical panel as possible to reduce wiring.
- Discuss conduit type and routing to balance speed and cost.
- Confirm the exact outlet needs for the chosen charger to avoid ordering the wrong materials.
- Consider third-party level 2 chargers instead of the Wall Connector to save about $100+
- Check electric utility company rebates and incentives for EV charging equipment and installation.
Getting multiple bids, verifying technical needs early, and researching savings programs are the best ways to reduce costs.
How Much to Install Tesla Charger in Garage: Average Costs Summary
With all these variables for materials, permitting, labor, and electrical capacity in play, what does a typical Tesla home charger installation cost?
Here are the average ranges:
- Tesla Mobile Connector: $0
- Level 1 Charger Hardware: $500 – $800
- Basic Level 2 Charger Hardware: $400 – $900
- Premium Level 2 Charger Hardware: $900 – $1300
- Electrician Installation Labor: $500 – $2000
- Electrical Upgrades: $0 – $5000+ (if needed)
- Permitting Fees: $0 – $500
With professional installation labor plus electrical upgrades or premium equipment added in, the total costs usually fall somewhere between $1000 and $4000+. However in some unique cases with complex rewiring needs, costs could reach $10,000 or more.
The convenience and charging speed gains make this investment worthwhile for serious EV drivers. Over time, lower fueling costs compared to gas vehicles help offset the initial expense.
Frequently Asked Questions
Does Tesla Provide Home Charger Installation?
Tesla offers an installation assistance program with independent, pre-approved electricians you can contact to perform Wall Connector installation. However, they do not provide in-house installation services.
Can I Install a Tesla Charger Myself?
Technically yes, but professional electrician installation is highly recommended for safety and compliance with building codes and electrical regulations. Improper DIY installation also risks equipment damage or malfunction.
How Long Does Installation Take?
The total process may take 1-3 weeks when permitting, inspections, and finishing work like drywall repair are factored in. However, the on-site electrical labor is usually only 4-8 hours over 1 or 2 sessions.
Do I Need a Dedicated Circuit for a Home Charger?
It’s recommended to install your Tesla charger on a dedicated circuit with the necessary capacity to handle level 1 or level 2 charging electrical loads. This prevents tripping breakers or electrical issues.
What Electrical Upgrades Are Needed?
It depends on your existing electrical service panel capacity and available breaker slots or spaces. Upgrades like new wiring, circuit breakers, a subpanel or even replacing the main panel might be needed if capacity is insufficient.
Conclusion
Installing a Tesla home charger allows you to conveniently and quickly charge your electric vehicle overnight. While adding EV charging does represent an additional investment over simply relying on public charging networks, buyers find the daily convenience worthwhile. Home charging also reduces supercharging needs, which lowers long-term fuel costs. With smart planning considering electrical capacity, materials needed, electrician rates, and potential rebates, EV owners can keep their home charger setup costs between $1000-$4000 in most cases. Sticking to basic level 1 or mid-range level 2 hardware while shopping multiple electrician bids helps control budgets. Start enjoying the ease of overnight charging your Tesla right at home!

