Tesla Powerwall Installation Requirements: The Complete Guide to Install Powerwall and Space Requirements
Installing a Tesla Powerwall can help provide backup power and maximize solar energy usage in your home. However, proper installation is key to ensuring optimal performance and safety. This comprehensive guide covers all the Tesla Powerwall installation requirements, considerations, and processes you need to know before getting started.
Table of Contents
Introduction to Powerwall 2 System
The Tesla Powerwall 2 is a rechargeable lithium-ion home battery system that stores and provides solar or grid energy for your home. Here’s an overview of what’s included:
- Powerwall battery unit – Stores energy and powers your home during an outage. Comes integrated into a wall-mounted enclosure.
- Backup Gateway 2 – The “brain” of the system that controls the power flow. Wall-mounted and wired to the home’s electrical panel.
- Mobile app – Monitors system performance and customizes settings.
- Supporting hardware – Additional parts like wiring, conduit, connectors, etc. needed for installation.
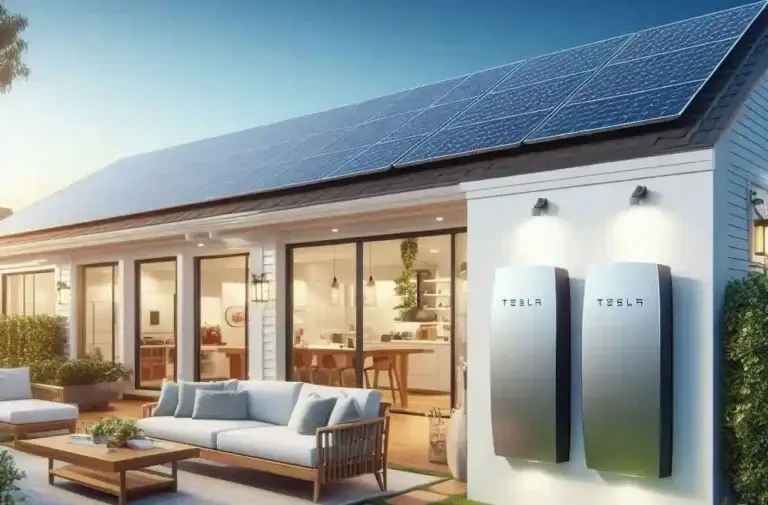
When paired with solar panels, the Powerwall 2 can store excess solar energy and use it anytime – including at night or during grid outages. It can help slash your energy bills and maximize renewable energy usage.
The battery capacity ranges from 13.5 kWh usable/14.4 kWh total for a single unit or 27 kWh usable/28.8 kWh total when two are installed. This capacity allows the Powerwall 2 to power critical home loads for up to 12 hours during an outage if properly sized.
Now let’s get into all the preparation work, requirements, and installation processes.
Tesla Powerwall Installation Requirements – All Solved Here
Harnessing the sun’s energy and storing it for backup power has never been more seamless, thanks to Tesla’s innovative Powerwall. But before you embark on this journey of energy independence, it’s crucial to understand the key requirements for a successful installation.
Here’s a comprehensive guide to ensure your home is Powerwall-ready:
Site Survey:
- Self-Survey or Site Surveyor: Tesla offers both options to assess your home’s electrical system and identify the ideal Powerwall placement.
- Essential Information: Provide details about your electrical panel, meter location, internet connectivity, and available wall space.
Space and Clearance:
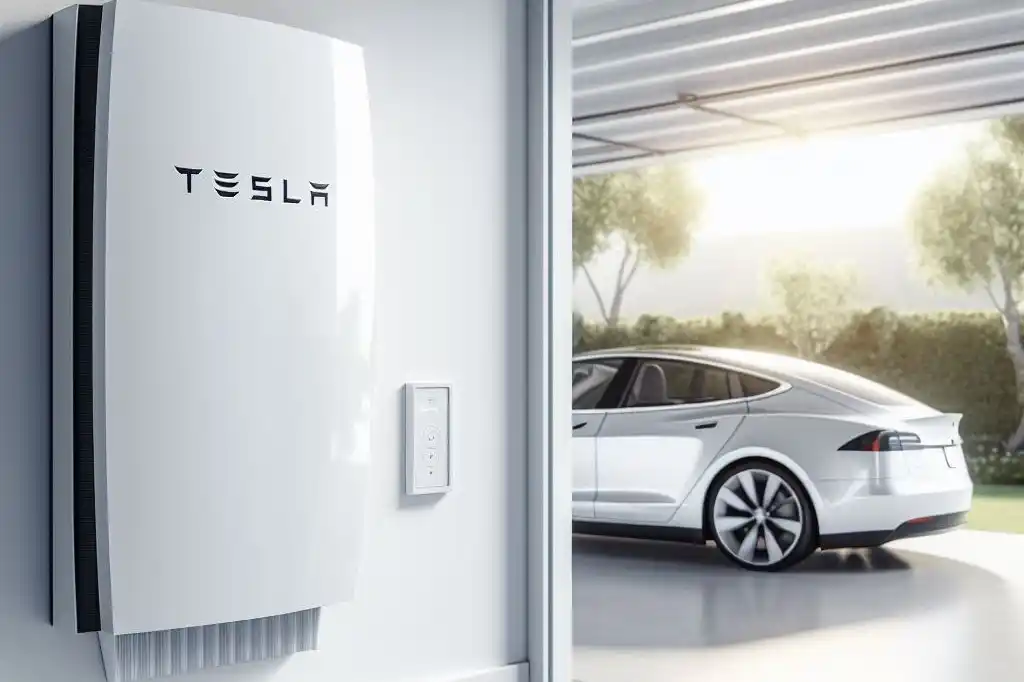
- Flexible Placement: Powerwall can be installed indoors or outdoors, wall-mounted or floor-mounted, depending on local codes and your preferences.
- Indoor Mounting: Ensure a minimum clearance of 6 inches on all sides and 18 inches above for proper airflow.
- Outdoor Mounting: Choose a shaded location, protected from direct sunlight and water sources.
Electrical Requirements:
- Backup Gateway or Backup Switch: These components are essential for integrating Powerwall with your home’s electrical system and enabling backup power features.
- Compatibility Assessment: A qualified electrician will verify that your existing electrical panel is compatible with Powerwall.
Internet Connectivity:
- Seamless Monitoring: Powerwall relies on a stable internet connection (wired or wireless) for remote monitoring and updates through the Tesla app.
Additional Considerations:
- Local Permits: Obtain any necessary permits from your local authorities before installation.
- Professional Installation: Tesla highly recommends using certified installers to ensure safety and compliance.
- Site Survey Fee: A fee may apply if you choose a professional site survey.
Pre-Installation Checklist:
- Clear Access: Provide unobstructed access to electrical panels, meters, and the chosen installation location.
- Pet Safety: Securely confine pets during installation for their safety and to avoid disruptions.
By understanding these requirements and working with qualified professionals, you can smoothly navigate the Powerwall installation process and unlock a more resilient and sustainable energy future for your home.
Ready to take the next step? Contact Tesla or a certified installer to schedule your site survey and get started!
Choosing an Installation Location
One of the first decisions is picking the optimal spot for your Powerwall 2. While Tesla handles permitting and other logistics, you’ll need to prepare the installation site and meet several requirements:
Indoor vs Outdoor Installation
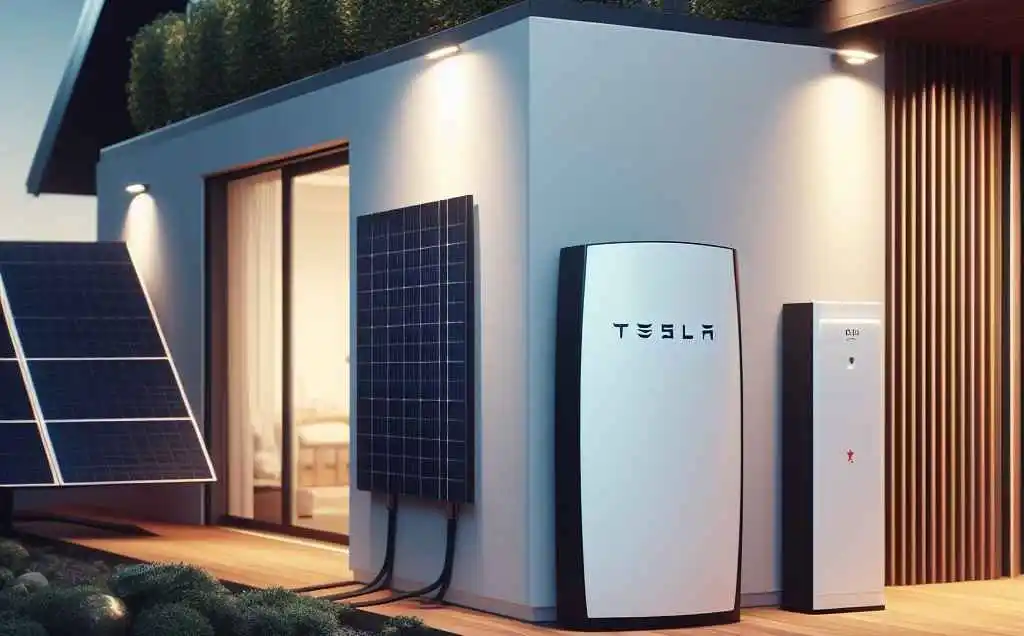
Powerwall 2 units are weatherproof and can be installed either indoors or outdoors. Most homeowners install them outdoors against the home’s exterior as a wall-mounted configuration:
Indoor installation works as well if preferred or if outdoor space is limited. Garages are a common indoor placement with open-air flow.
When choosing locations, consider:
- Easy access to outdoor electrical infrastructure
- Minimal distances for wiring/conduit runs
- Clearances for ventilation and maintenance access
- Local climate, temperature ranges, flood zones, etc.
- Aesthetics – visibility from street, sunlight exposure, etc.
Powerwall 2 Clearance Requirements
Whether installing indoors or outdoors, uphold the following minimum Powerwall 2 clearance requirements defined by Tesla:
Side Clearances:
- 4 inches (10 cm) minimum on both left and right sides
Vertical Clearances:
- 21 inches (53 cm) minimum head clearance above the Powerwall
- 7 inches (18 cm) minimum ground clearance from bottom
Front/Back Clearances:
- 36 inches (91 cm) minimum in front for maintenance access
- 0 inches minimum clearance in back but avoid blocking ventilation openings
Maintaining these clearances allows for proper airflow around the units which is important for cooling. Units utilize a pump and fan that produce a gentle hum during operation – comparable to a typical refrigerator. The noise level depends on the ambient temperature and the power level of operation.
Consider these noise levels when choosing locations so the hum does not disturb living spaces. Proper clearances also ensure installer access for future maintenance.
Powerwall 2 System Size and Configuration
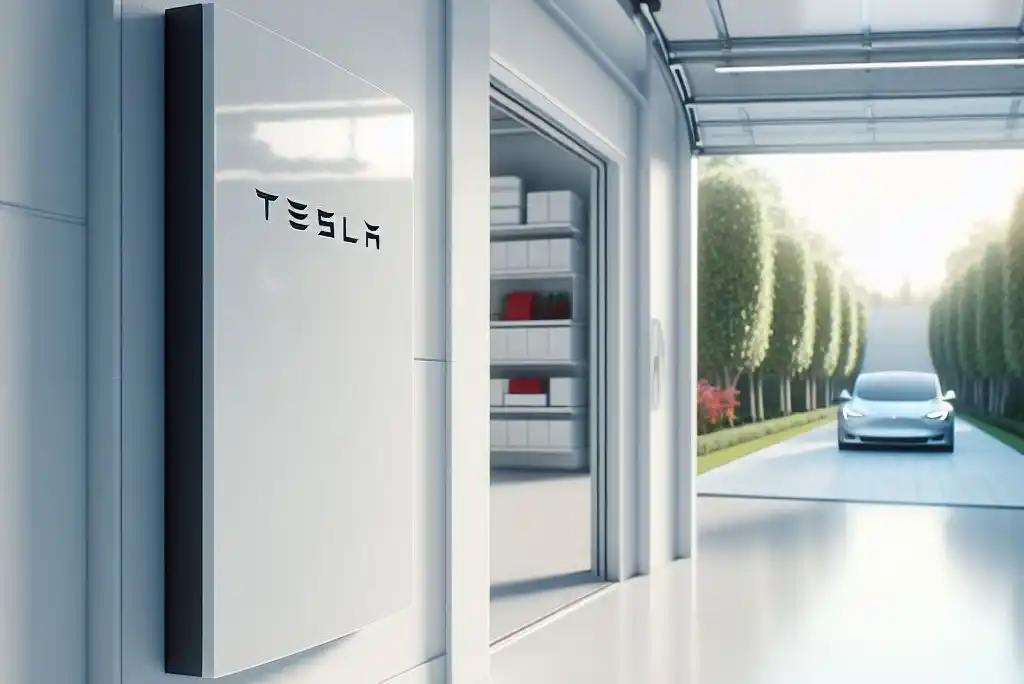
The number of Powerwalls you’ll need depends on factors like:
- Size of the home and critical loads you wish to back up
- Desired length of backup duration during outages
- Size of the customer’s solar system
- Future solar expansion plans
Homes with larger energy usage, more appliances to power, limited sunlight for solar, or goals for longer duration backup will need a bigger system. Tesla offers the following configurations:
- 1 Powerwall 2 unit = 13.5 kWh capacity
- 2 Powerwall 2 units = 27 kWh capacity
- 3 Powerwall 2 units = 40.5 kWh capacity
- 4 Powerwall 2 units = 54 kWh capacity
And so on in increments of 13.5 kWh per additional unit. Units can be wall-mounted or floor-mounted depending on home size and layout.
For solar pairing, Powerwalls are sized based on the peak solar production rate rather than the total system size. This ensures it can store extra solar energy as it’s generated during the day.
Most homes are fine with just 1-2 units while larger properties may utilize 4 or more. Additional Powerwalls can also provide longer backups – for instance, 4 units could sustain critical loads for up to 3 days.
Powerwall Supporting Hardware
Installing the Powerwall batteries is just one part of the full system installation. Various additional components are connected to integrate the system:
Backup Gateway 2
This device is the main system controller installed on the wall near your home’s main electrical panel. It:
- Completes the grid connection to safely import/export power
- Manages flow of energy between the grid, solar system, Powerwall battery, and house loads
- Provides monitoring data and connections for automatic software updates
The Backup Gateway 2 integrates multiple Powerwalls into a unified system if more than one unit is installed. It’s always included with initial installations.
Backup Switch (Optional)
A backup switch automatically detects grid outages and disconnects from grid power. This islands your home onto the Powerwall system only.
The switch enables full-home backup if sized properly. Without it, only pre-selected home loads supported by the Gateway 2 will stay online. This special equipment includes:
- Automatic transfer switch hardware
- Supporting wiring and conduit
- Integration and programming with Gateway 2 controller
Meter Adapter (If Necessary)
Some utilities use proprietary meters that require an adapter for the Gateway 2 to access monitoring data. This small device attaches between your meter and the main panel. Meter adapters are not needed for standard meters.
If your utility does require one, Tesla or your installer handles all coordination to get the right meter collar type.
Complete Pre-Installation Checklist
Careful planning and preparation is crucial before installation day arrives. Be sure to complete this pre-installation checklist:
🗹 Pick installation locations – Mark the desired wall-mount spots for the Powerwalls, Gateway 2 controller, and (if applicable) backup switch hardware. Consider clearance requirements, ventilation, accessibility, permitting guidelines, and aesthetics.
🗹 Understand electrical requirements – Powerwalls operate on 240/208V single-phase power. Verify your main panel matches and has enough open slot spaces for connecting equipment. Panel or service upgrades may be needed in some cases.
🗹 Organize grid approval and permitting – Building permits from your local Authority Having Jurisdiction (AHJ) are mandatory for the energy storage system. Tesla Energy Support helps facilitate all approvals and inspections. Just provide system details like equipment being installed, home square footage, and site address.
🗹 Clean up installation sites – Remove clutter or debris from proposed Powerwall mount points and clear a safe workspace area for installers. It’s best to install on bare wall sections free from pipes, vents, wires, sprinklers, etc. If mounting outdoors, trim any overgrown vegetation that could hinder access.
🗹 Stage supporting materials – Have any additional mounting hardware (extra wood backing, concrete anchors, etc.) or wiring conduits prepped in advance so installers have everything needed.
The Powerwall Installation Process
Once all preparations are complete, professional Tesla-certified installers perform the full system installation. The general process includes:
Step 1 – Mount Powerwall Bracket
The metal Powerwall mounting bracket gets anchored to wall studs or masonry able to safely hold over 250 lb per unit. Concrete anchors, lag bolts, or other robust means secure it. Additional wood backing strengthens the structurally weakest points.
Wall-mounted examples use vertical brackets while floor-mounted installations utilize L-shaped floor stands. Conduit openings in the bracket allow wiring connections.
Powerwall 2 wall-mount brackets properly anchored on wall studs
Step 2 – Hang the Powerwall Unit
Next, the Powerwall battery gets lifted and hung on the wall bracket. The integrated handles assist lifting while the slide-on frame design allows single installers to mount units securely.
Installers sliding Powerwall onto anchored wall-mount bracket
Step 3 – Wire Powerwall Connections
The Powerwall Battery Management System controls each integrated module. Installers carefully wire multiple power and communication cables between the Gateway 2 controller, Powerwall batteries, main electrical panel, and other system parts.
Conduit routes cables safely through walls and protects against weather or critters outdoors. Additional modifications to the home’s electrical infrastructure may be completed if upgrades are necessary.
Properly connecting everything ensures maximum efficiency in power transfer and coordinated charging/discharging of batteries.
Step 4 – Configure System Settings
Before the Powerwalls go online, optimal software settings get configured either via laptop or mobile app. This includes modes like:
- Self-Powered – For paired solar systems to maximize self-consumption of your solar energy
- Time-Based Control – Customize backups or storm response based on periods
- Advanced Time-of-Use – Optimize around real-time electricity rates and demand charges
Customers also select which home loads automatically remain powered during grid failures depending on their prioritized needs and system size.
Step 5 – Commission and Inspect System
With everything installed and configured, certified technicians complete an extensive commissioning and inspection checklist before handoff. This ensures:
- Physical devices mounted securely with proper spacing/ventilation
- All wiring is properly sized and connected with safety checks
- Voltage, frequency, and power levels are properly calibrated and synced
- Functionality testing by triggering temporary loss-of-grid scenarios
- Internet connectivity for remote monitoring established
- City inspections passed and signed off (if applicable)
Only once every item passes do they wrap up. This hands-off fully functional Powerwall 2 system authorized to run efficiently for years.
Getting the Most from Your Powerwall 2
Following professional standards for installing each Powerwall 2 component is critical – incorrectly done steps risk damage, underperformance issues, or dangerous electrical hazards.
While the hardware provides incredible home energy potential, learning to operate your system optimally requires education too. Be sure to:
- Review access and control via the mobile monitoring app or web dashboard
- Set proper modes and priority backup loads aligned with your goals
- Follow battery care best practices like avoiding excessive depths of discharge
- Understand system status lights so you know normal operation vs alerts
- Establish smart schedules and settings tailored around your household patterns
Contact Tesla support with any other questions related to safely using and maintaining your new Powerwall over the long-term. Installed properly, these solar batteries can help slash energy costs and provide priceless outage protection for decades.
Frequently Asked Questions
Q: Can I install a Powerwall myself?
A: No – Powerwall units must be installed by certified electricians insured & authorized by Tesla due to electrical safety risks and code requirements. Self-installs can severely injure homeowners or damage equipment. Leave it to the professionals!
Q: Can Powerwalls completely run my whole home?
A: Powerwalls can power your entire home seamlessly during outages only if properly sized and configured with additional equipment like an automatic backup switch. This hardware islands your full home onto battery power when the grid fails. Without a switch, the system only supports selected backup circuits.
Q: How long does a typical Powerwall installation take?
A: For an experienced 2-person crew, wall-mounting and wiring a single Powerwall unit usually takes around 4-6 hours. Additional units, backup switches, or electrical upgrades add more labor time. Inspections and permits can also lengthen the end-to-end process across multiple visits if required by your local utility.
Q: Where should I avoid installing a Powerwall?
A: Avoid placement locations that could regularly expose batteries to things like:
- Direct high-pressure spray from sprinklers or hoses
- Flood prone areas
- Extreme heat sources – over 140°F environments
- Enclosed spaces lacking ventilation
- Excess dirt/debris accumulation
- Pests like rodents that may chew wires
Conclusion
Installing a Powerwall 2 system supercharges your home’s energy capabilities and savings. But upholding clearance guidelines, properly sizing components, using certified installers, and safely integrating batteries are crucial to realize the benefits. Now equipped with a full overview of Powerwall requirements and installation processes, you can confidently proceed with your own system!

